netDocShare Login and Authentication
In order to user our application, users must authenticate with NetDocuments. This is a security requirement for accessing the NetDocuments API. This ensures that no outside
users will be able to access privileged information.
Authenticating with NetDocuments
Our app uses standardized Oauth protocols to communicate with the NetDocuments API. After login & permissions are granted, the API server will return Access and Refresh
tokens which are required to make further queries.
Access & Refresh Tokens
Access tokens have a limited lifespan. They expire after 45 minutes of no activity or between 24 and 48 hours of when they are issued. If an API query is made with an expired token, a 401 Unauthorized status is
returned. netDocShare automatically processes expired tokens and attempts to retrieve a new token when required. For this, we use refresh tokens which last much longer. A refresh token with full access will expire in 40 days. A refresh token with the
least access will expire after 90 days. Once the refresh token has been depleted, users will be expected to enter their login credentials again in order to obtain a new refresh token. This is different from a login lifetime when using NetDocuments itself.
NetDocuments for security reasons will log out users automatically after 90 minutes of inactivity. As a NetDocuments user, you can enable an automated login option if your organization has Microsoft Active Directory Services.
Logout
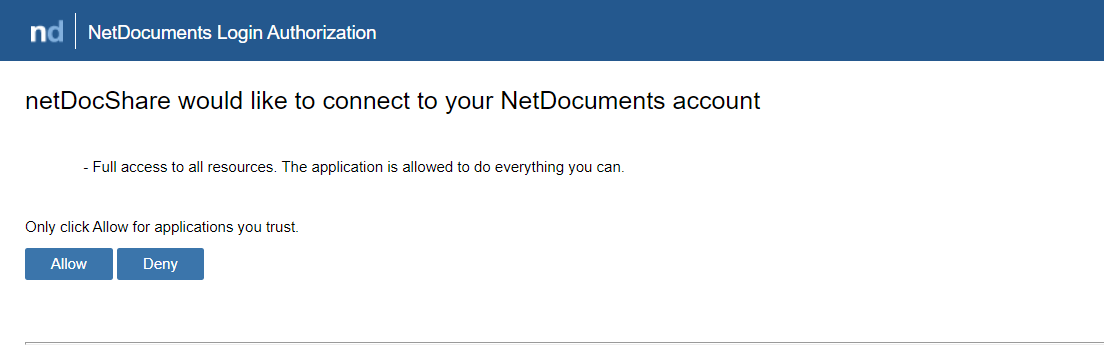
Logging
out from NetDocuments can be done on a browser level. For example, if you log in to NetDocuments.com in a browser tab and open a SharePoint page with netDocShare webparts in another tab, it will recognize that you are logged in and display the Allow /
Deny screen. We also provide an optional method to log out from inside NetDocShare. The Config Builder contains a field called “Show Logout”. When enabled, this will include a dropdown menu on the top right side of the webpart which will display a greeting
and the NetDocuments user’s name:
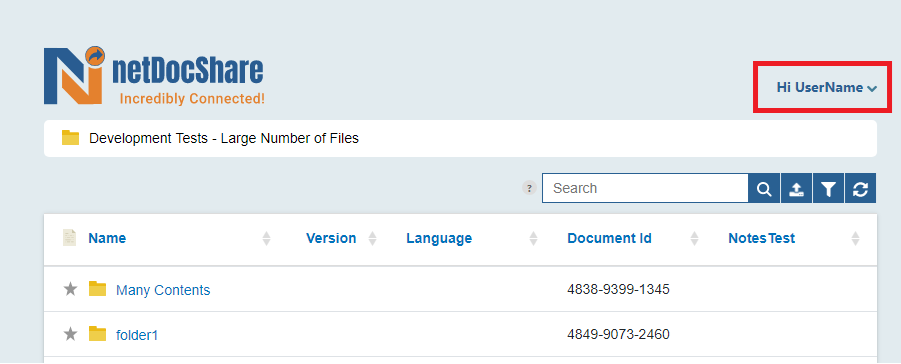
Clicking
on this will reveal a logout option which will remove the NetDocuments session from the browser. Note: This will log you out of NetDocuments in every tab of the current browser. The page will refresh automatically, and users must login to NetDocuments
before resuming usage.
Auth FAQ
Users must make sure that the URL they submit to https://netdocuments.force.com is EXACTLY the same as their auth page URL. This must match case and spelling exactly or else it will throw invalid URL error. This
includes http and https.
In some older SharePoint versions, webparts linger on the page even after they have been deleted. The number of webparts can be seen here:
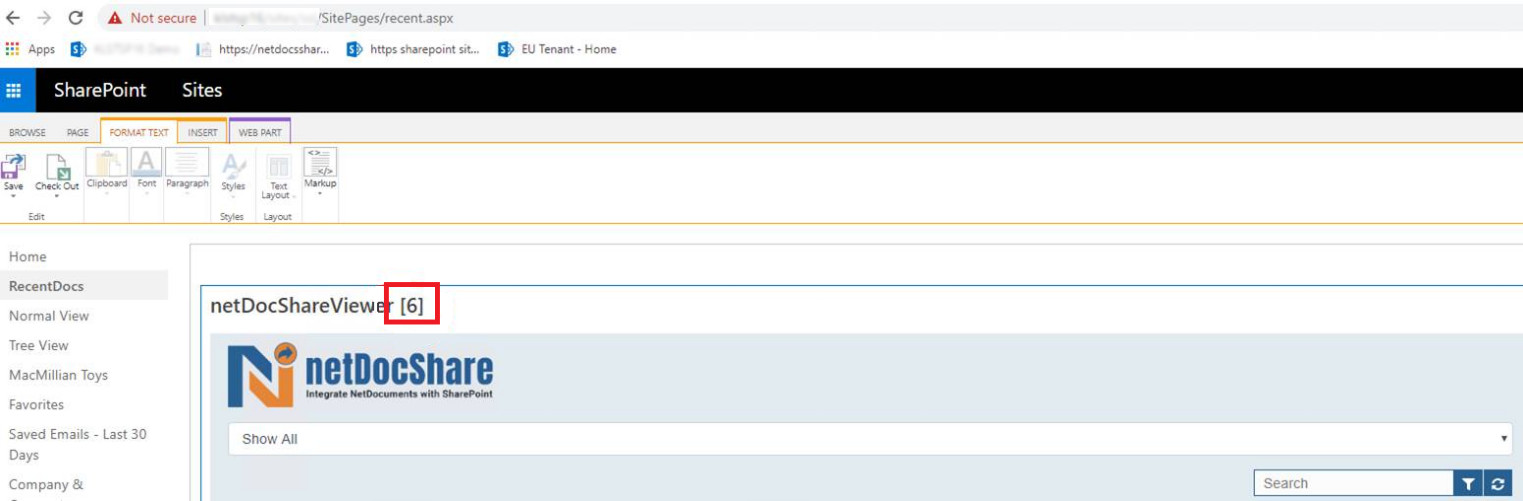
If there is more than one webpart on a page, it will impact how our software will function, e.g. the page might have multiple auth popups among other things,
as the hidden webparts will still be loading code. To remove the unnecessary webparts officially, open the page in Web Part Page Maintenance and remove hidden webparts.
If Authentication is failing to redirect or failing to reload
the page after logging in or clicking the “Allow / Deny” prompt, this may be due to existing errors on the page which may block attempts to navigate to another page. In order to avoid this, or to test whether this is the issue, please insert our webpart
on a blank Sharepoint page that loads no other content such as ScriptEditor webparts or scripts embedded into the Master Page. If the webpart can work on the blank page but not on the original page, there is some content that is blocking the functionality
of our app. In this case, we recommend fixing the existing errors on the page or using a page which does not load the problematic content.
NEW: Service-based Authentication
(available from version 2.4.1 onwards) We are proud to introduce a new service-based authentication model which will do away with the previous requirements to create SharePoint Auth pages and submit redirect URLs for each client. This
is available from v2.4.1 onwards and will take effect immediately upon installation. NOTE: This will NOT disrupt the previous auth system for clients who do not wish to switch and it can be reverted to the previous system at any time.However, we highly encourage the update as it confers many benefits to users and administrators alike. Below is a table comparing the features of each system.
| SharePoint Auth Page (OLD) | Service-based Auth (NEW) |
|---|---|
| - Requires creation of Auth page for every distinct site collection | - Does NOT require auth pages to be created |
| - Requires submission of redirect URLs to KLST to ensure security | - Does NOT require redirect URLs to be submitted |
| - Easy to cause auth errors by misspelling or mistyping important auth values | - Uses a universal authentication URL for all purposes |
| - Completely self-contained but requires the SharePoint Auth page to be active at all times | - Dependent on KLST’s authentication service to be active |
Universal authentication URL: https://netdocshare.azurewebsites.net/auth
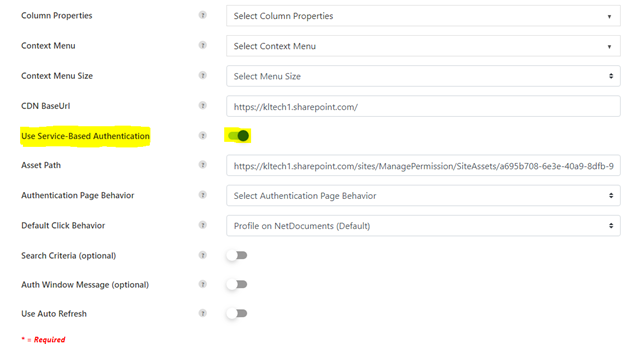
Toggling on the option pictured above will automatically begin using service-based authentication. Users can also choose to turn it off and insert the URL above into the “Auth Suffix” field
in the config builder in order to achieve the same result.
Support for Single-Sign On
NetDocShare webparts and tabs support single-sign on using ADFS as an identity provider and SAML as an authentication type. This means that your
Windows or SharePoint credentials will be used to sign in as a NetDocuments user. This system must be set up properly on your Microsoft Active Directory environment before netDocShare is installed. This can be tested by opening NetDocuments.com
on a browser, it should automatically log in users instead of showing the login screen. Once this has been properly set up on the client side, there are only 2 additional steps to ensure that this system is properly applied to netDocShare:
- Please find the “usingSSO” property in the config builder, and turn this property to true. This must be done for all webparts/tabs that want to use SSO or else the view will default to regular authentication. This can be set up as an admin setting
to avoid having to change all webparts. Please see the config Builder section or the Admin-specific user guide for more info - Once “usingSSO” has been activated, a normally hidden field called “repoID” should appear for you to fill in. Please fill in this field with the repository ID that you have been given in NetDocuments. Repository is the highest level container in Netdocuments.
Legacy: Local Webpart Authentication
ATTENTION: Starting with version 2.4.1, we have introduced a new service-based authentication system which enables users to skip the following section. You may still use
the system outlined below, however, we recommend using our new system in most cases. Please follow the above section labeled “NEW: Service-Based Authentication” for more information
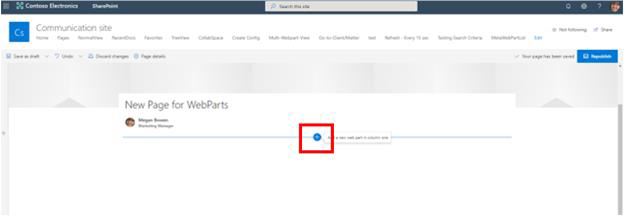
Prior to the installation of any other WebParts that retrieve data from NetDocuments, the netDocShare Auth WebPart must be installed
first. This WebPart is required for security reasons, as your NetDocuments account is secured by login and authentication processes. If the Auth WebPart is not added, the other WebParts will be unable to login to NetDocuments.
Step-by-step installation instructions:
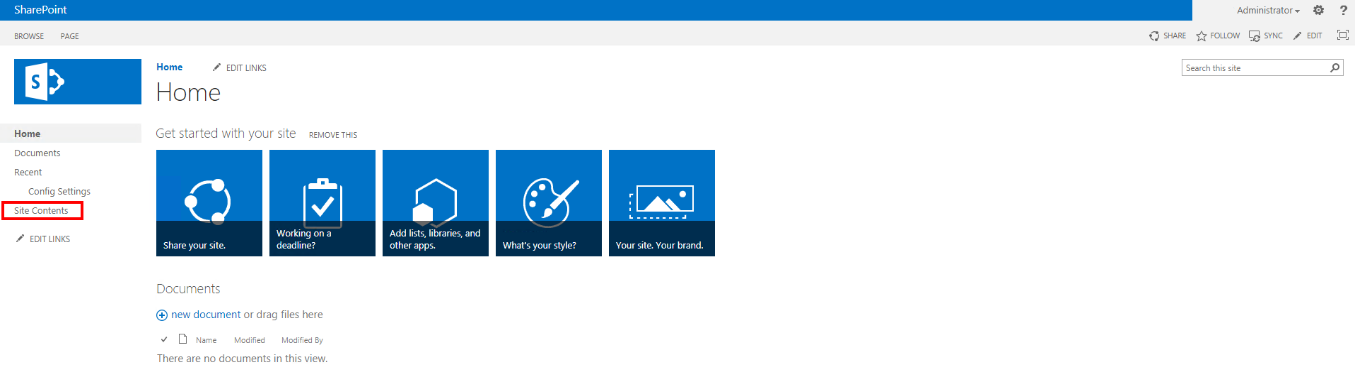
- Classic SharePoint:
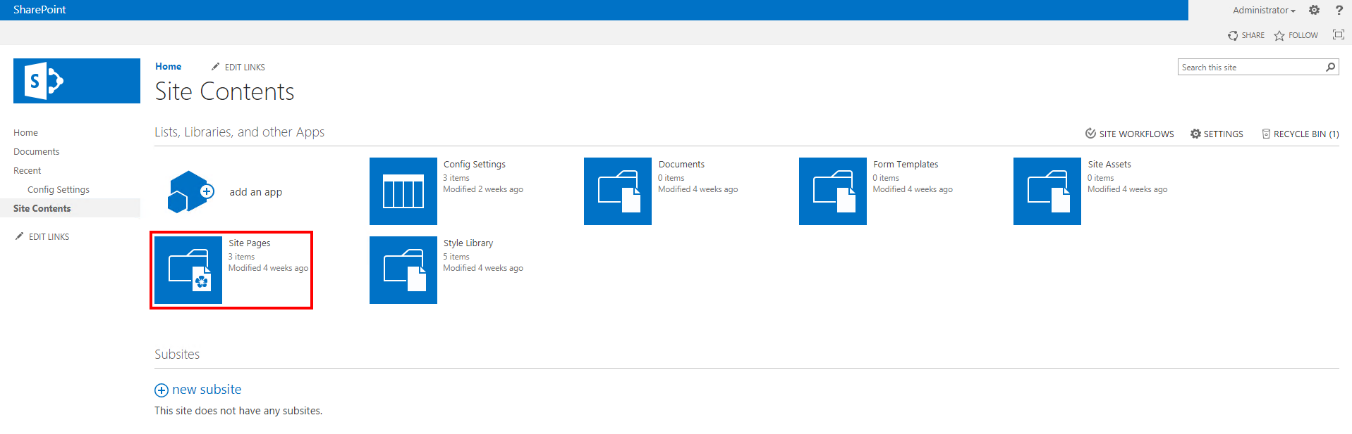
From the Home page in your SharePoint account, navigate to Site Contents on the left-hand side menu. Choose or create a page from within one of your Site Contents’ Lists or Libraries that you wish to add the netDocShare Auth WebPart to.
Note: This page does not have to be the same page as where you wish to install the Document Viewer, RecentDocs, TreeView WebParts. The netDocShareAuthWebPart only needs to exist on a page within the scope of your Root Site Collection in order to facilitate the NetDocuments authentication procedure for all the included WebParts.
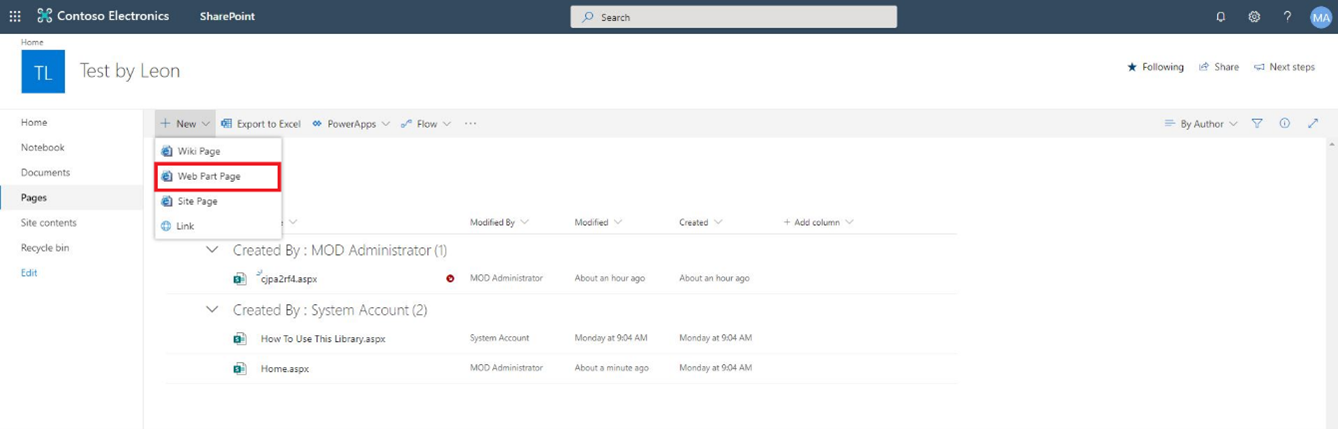
Classic SharePoint (Team Site):
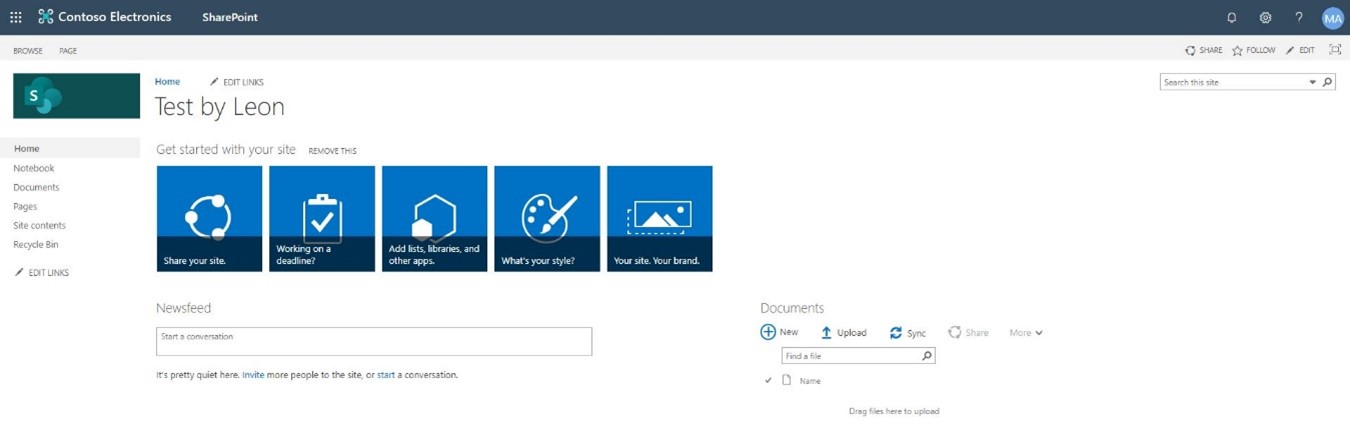
Select Pages on left-side panel. Create a new Web Part Page.
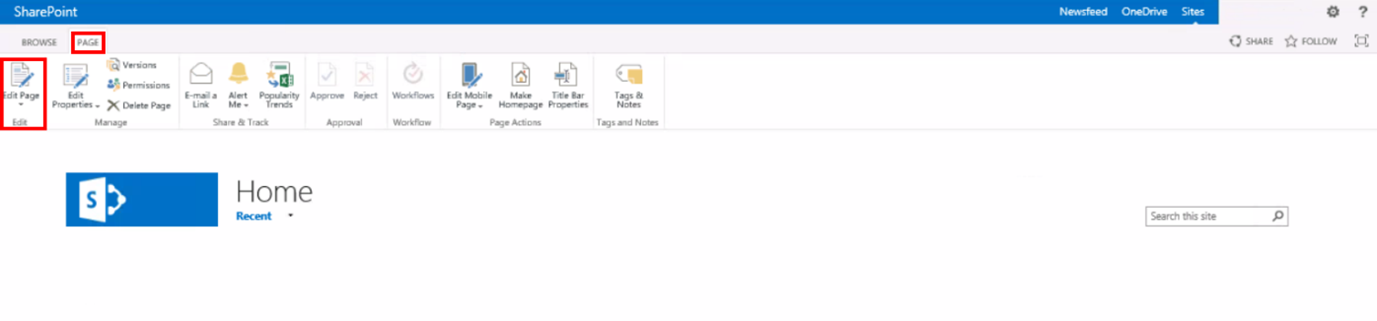
2. Classic SharePoint:
Click Page in the upper left-hand corner. Next, click Edit Page on the ribbon’s far left.
Classic SharePoint (Team Site):
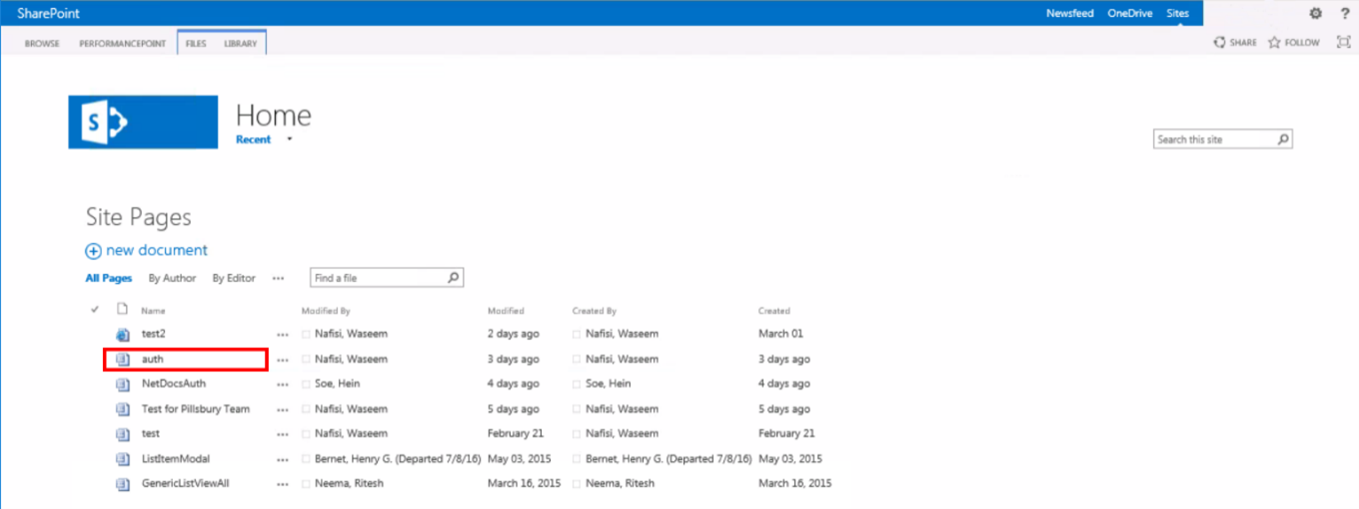
Name the new web part “auth”*, select Full Page, Vertical, select Site Pages for Document Library, then Create.
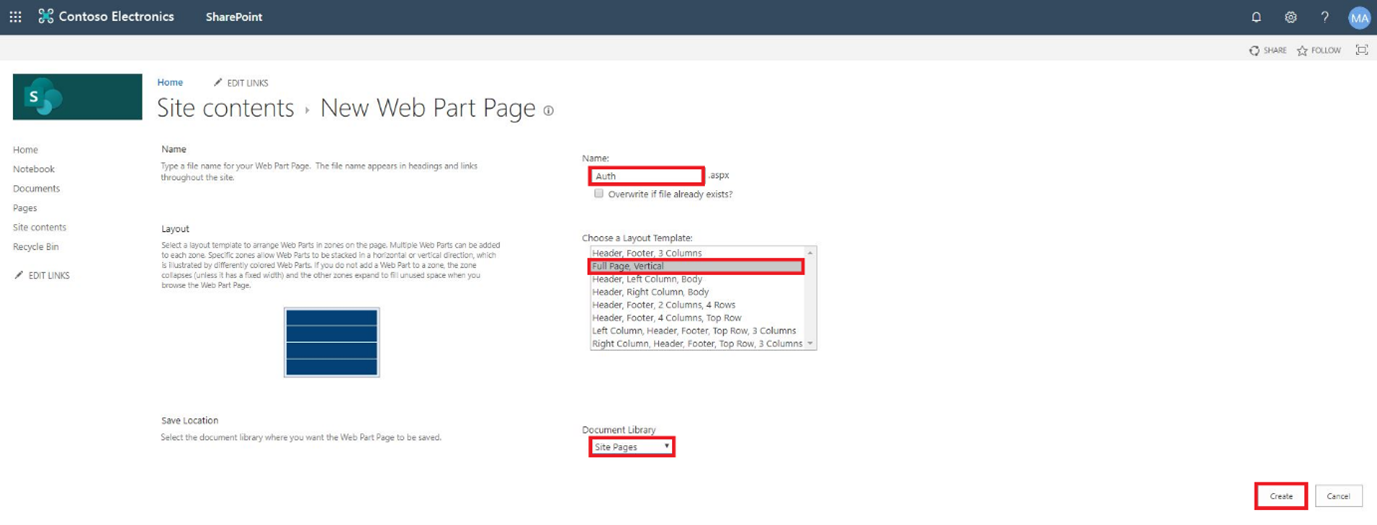
*Case-sensitive
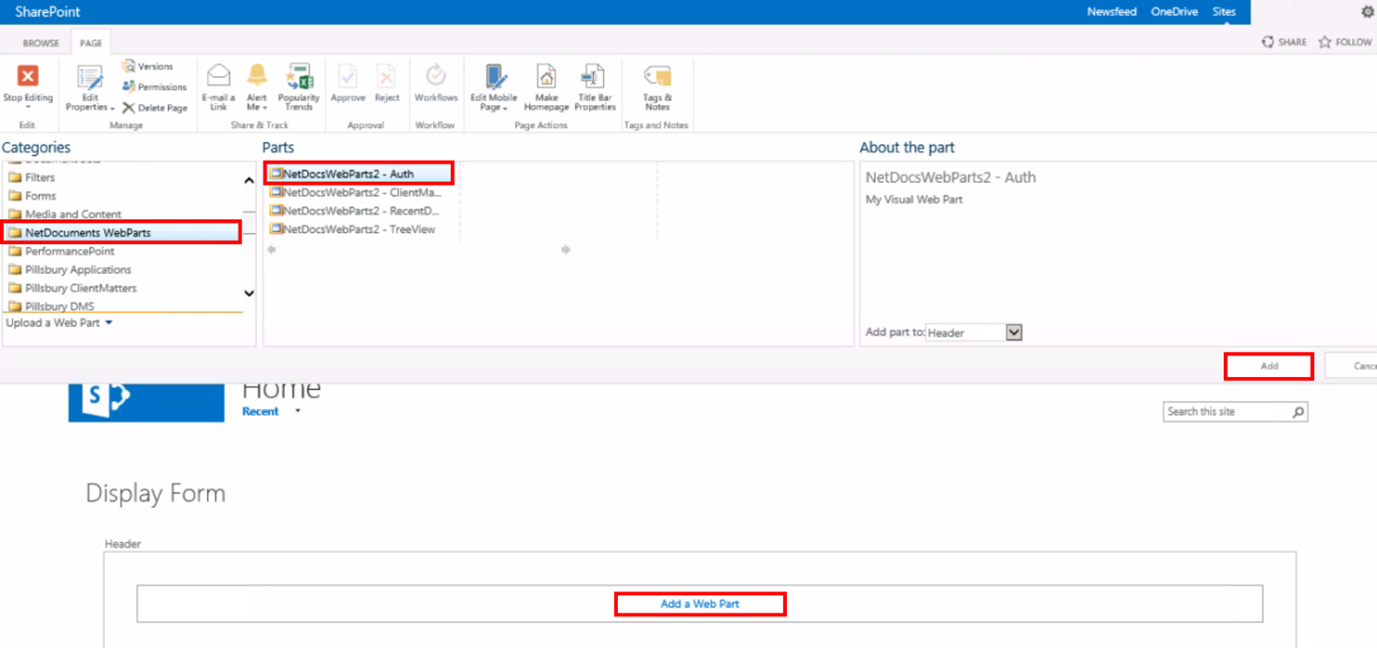
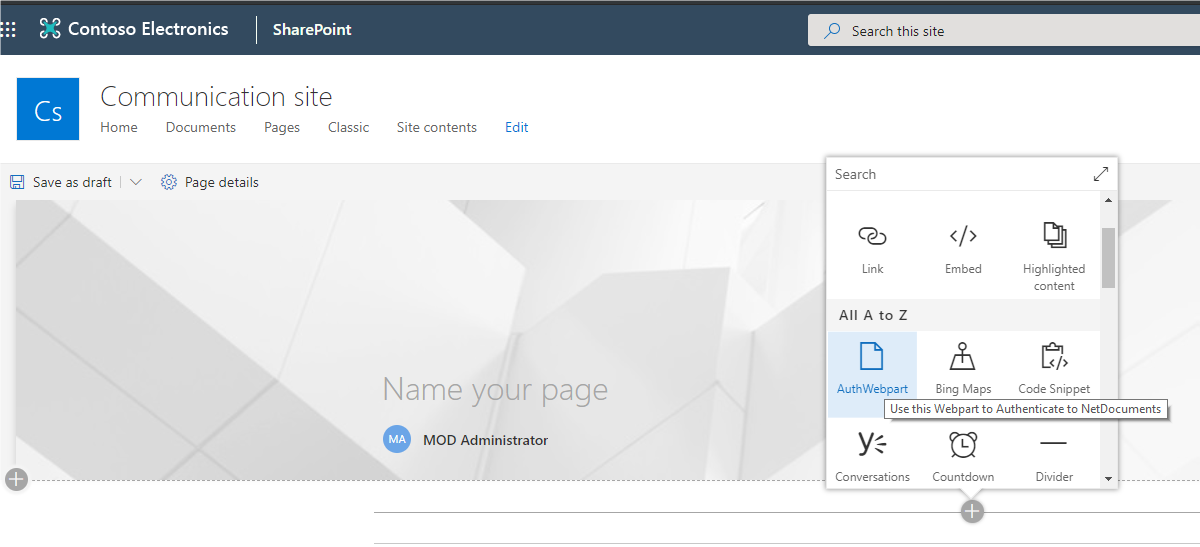
3. Classic SharePoint:
Click Add a Web Part. Under the Categories gallery, find and select your SPFx WebParts folder from the menu and select the Auth WebPart. Note: Your category list may look different depending on what you have installed on your SharePoint tenant.
Classic SharePoint (Team Site):
Similar to Classic. Destination for AuthWebPart may vary.

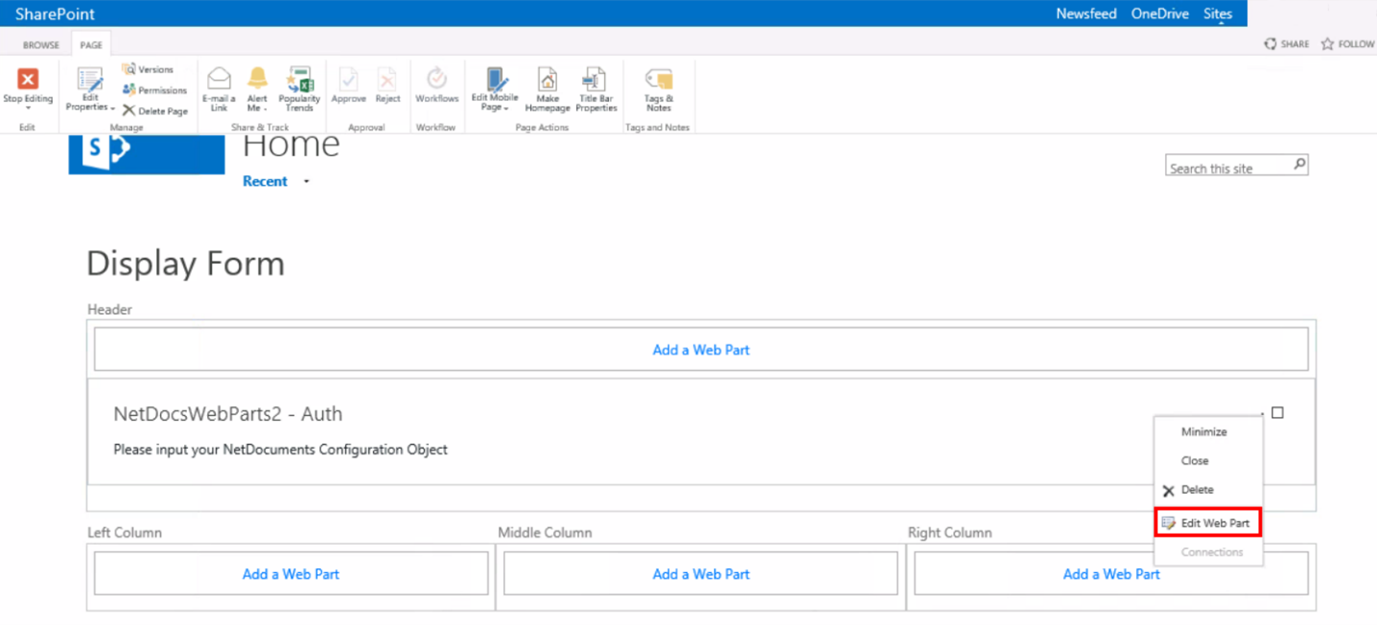
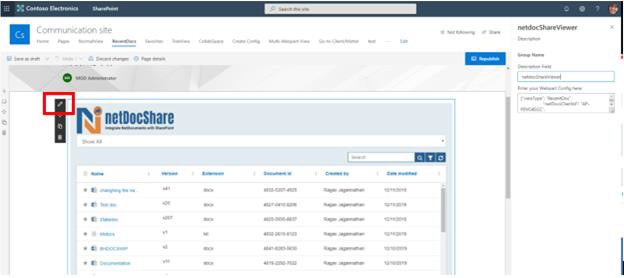
4. You will see that the newly added Web Part says, “Please input your NetDocuments Configuration Object.” Click the Web Part menu (small arrow in the upper right-hand corner) and then select Edit Web Part.
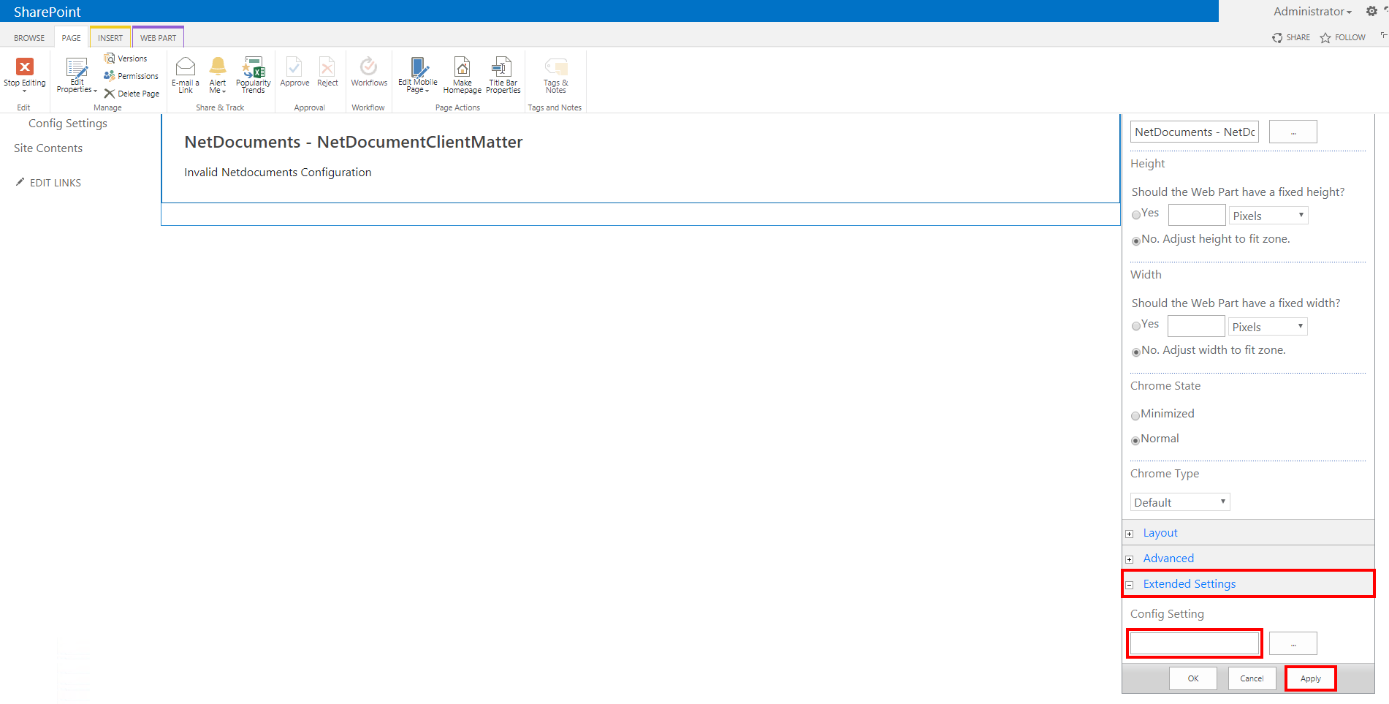
5. Classic SharePoint:
Select Extended Settings at the bottom and enter the App Configuration Auth JSON Object (Example provided in following step) inside the Config Settings field, then click Apply.
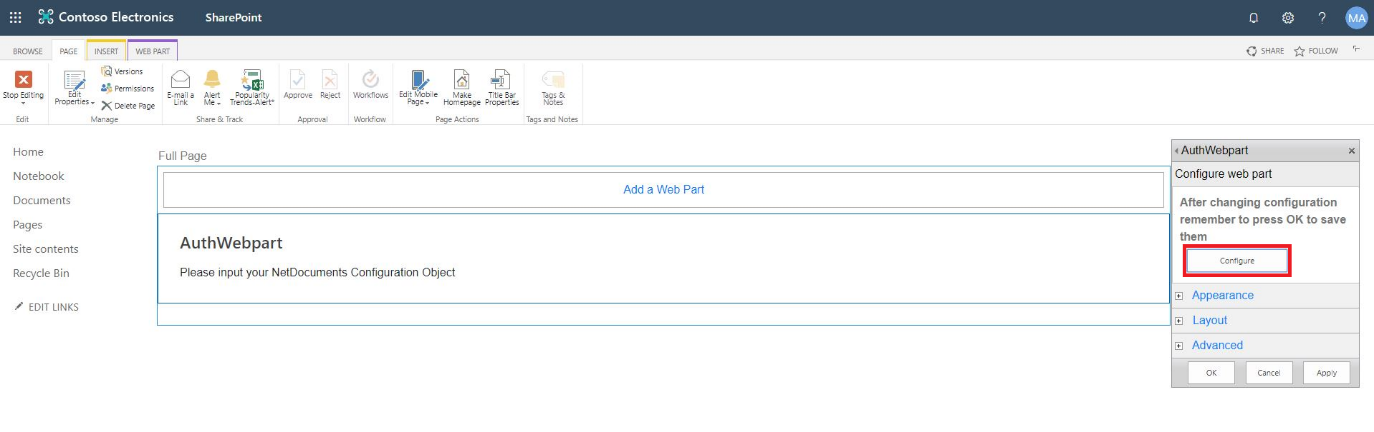
Classic SharePoint (Team Site):
At the Configure web part, click “Configure”. Enter the App Configuration Auth JSON Object (Example provided in following step) inside the Enter your Webpart Config here field, then click “x” at top-right and click Apply.

6. An example and explanation of this Auth JSON Object is as follows:
{
“viewType”: “Auth”,
“netDocsClientId”: “AP-P0VO45CC”,
“netDocsClientSecret”: “22neL4s4DF5WU18HpBjdcMaUX2piUWkMzg460urwyr2xMCsf”,
“netDocsBaseUrl”: “https://api.vault.netvoyage.com/v2“,
“CDNBaseUrl”: “https://{yourSharepointTenant}/“,
“AuthSuffix”: “SitePages/Auth.aspx”,
“authPage”: “redirect”
}
For explanations of each property, what they do and what values should be used to change them, please see our Config Builder Properties Appendix at the end of the document.
7. Note: the page to which you add the Auth WebPart must be registered with our NetDocuments API application as a redirect URI. With this method, no matter where your other netDocShare WebParts are, the NetDocuments REST API will always authenticate to the URL where your Auth WebPart exists.
This allows multiple WebParts on the site collection to be authenticated from just 1 location. Now that you have a netDocShare Auth WebPart, you may navigate to any other page within the scope of your Root Site Collection and install any of the other netDocShare WebParts using the same process as above. More info about this in the next section.
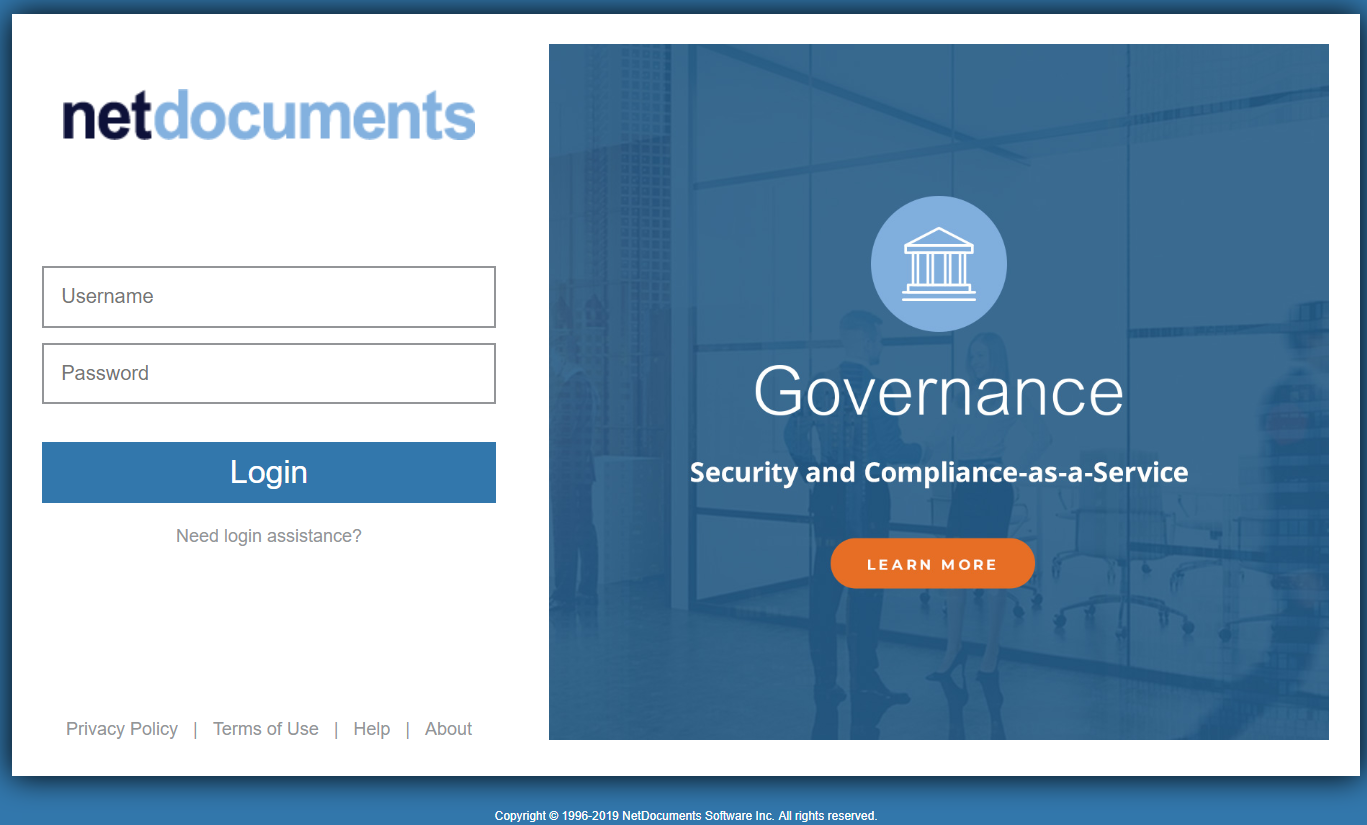
8. Once the Auth process activates, a popup will be opened with a NetDocuments login screen similar to this:
Classic vs Modern:

netDocShare Document Viewer
The document viewer WebPart is the core of our application. It comes out of the box with 5 varied and configurable viewtypes.